How to record your screen on a Mac with your voice and camera
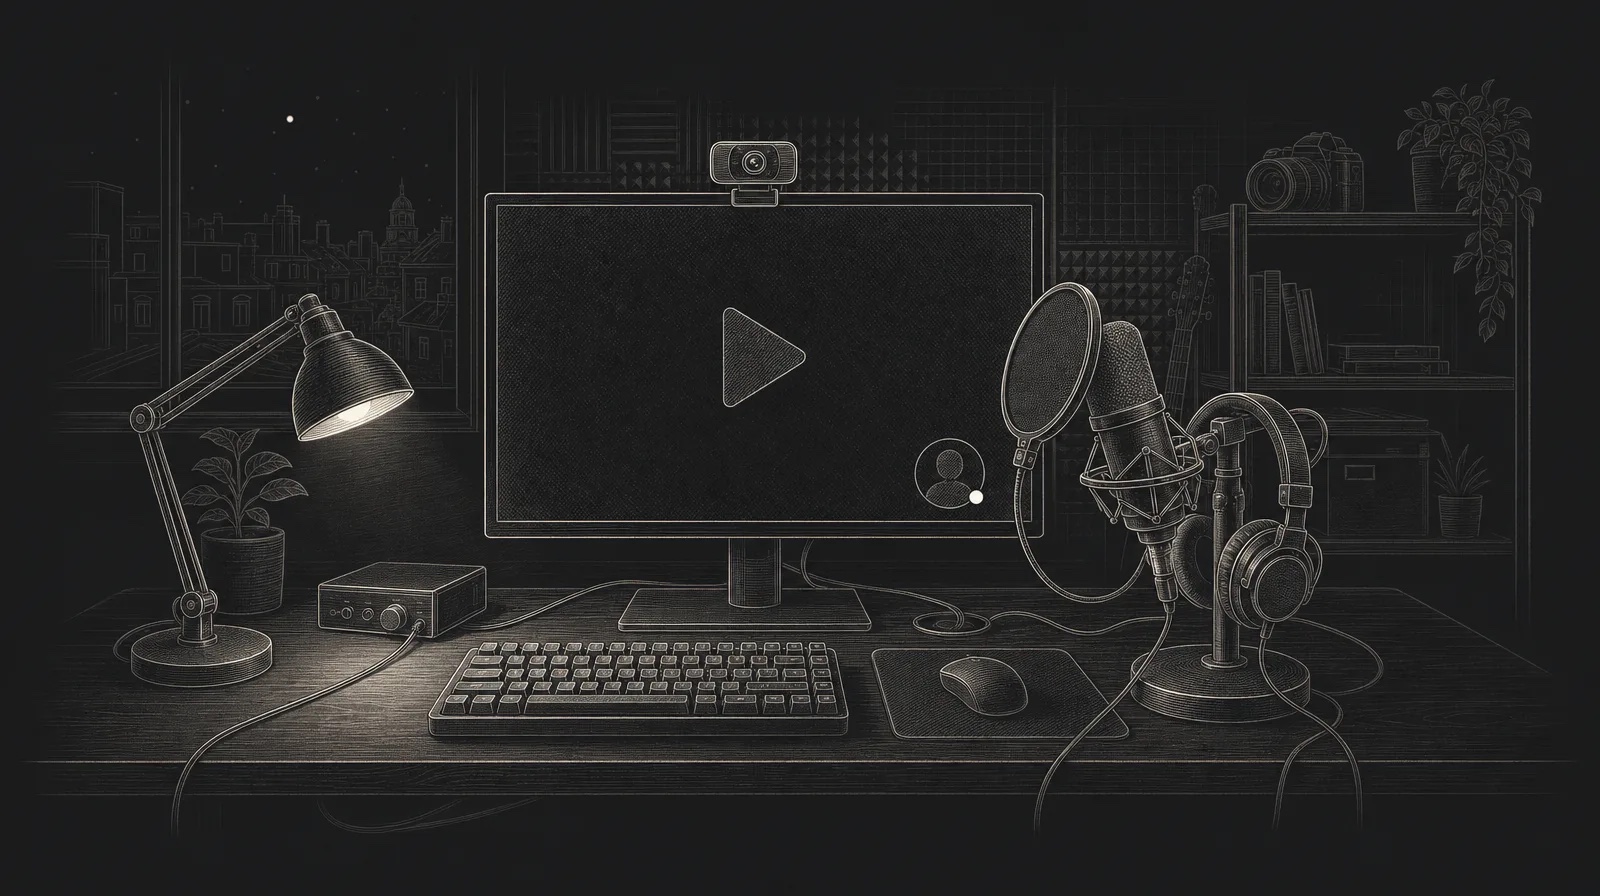
The quickest way to record your screen on a Mac with audio is a keyboard shortcut and one bar of buttons. With catu it is ⇧⌘3, a drag, and Start. This is the whole flow, including the parts people miss: the Mac's own sound, pausing, and what happens to the file when you stop.
Start with ⇧⌘3
Press ⇧⌘3, or click catu in the menu bar and choose Record Screen. Then choose what to record:
- An area: drag over it.
- A window: press Space, then click the window.
- The whole screen: press Return. catu records the screen your pointer is on.
A dashed frame marks what will be recorded, and the recording bar opens under catu's icon. Nothing is recording yet. Press Esc at any point to change your mind.
A window recording is that window's place on the screen, not the window itself. If you move it or cover it, the recording shows whatever is there instead, so settle the window first.
Switch on your voice and your face
The bar shows what will be in the recording before you start.
- Microphone records your voice. It turns green and fills as you speak, so you can see it hears you before you commit. Click the small arrow beside it to pick a different microphone, for example a headset instead of the Mac's own.
- Camera puts you in the corner of the recording, mirrored the way you expect. A preview appears in the area so you can check the framing. The S, M and L buttons set how big you appear.
- System audio records the sound your Mac plays: a video, a call, an app's notification. catu's own sounds are left out.
catu remembers these choices, so the second recording is one key and one click.
Start, with a countdown
Click Start or press Return. A 3, 2, 1 countdown appears in the middle of the area, which is enough time to move your pointer where the recording should begin. Press Return to skip it. The bar, the dashed frame and the camera preview are never part of the video, even if they sit inside the area. Your pointer is.
Pause when the phone rings
Click Pause or press ⌥⇧⌘3. The timer turns grey and the menu bar shows a pause mark. Resume with the same shortcut, and a short countdown runs before recording carries on. Pauses don't count towards the length. While recording you can also mute the microphone or hide the camera from that moment on, without stopping.
Stop with ⇧⌘3 again
Press ⇧⌘3 or click Stop. The recording is saved on your Mac at once, and a card appears with the first frame, the length, and a Trim button if you want to cut the start or the end.
Recordings stop by themselves at ten minutes. That is deliberate: short recordings are watched, long ones are skipped, and a ten-minute file uploads and plays without a wait. For something longer, stop and start a second recording.
Send it as a link, not a file
If you have catu Pro, the card has a link button. Click it and the recording is encrypted on your Mac, uploaded, and the link is on your clipboard, ready to paste. People open it in any browser with no account, and can comment at a moment in the video. If you switch on Upload while recording on the bar beforehand, the link is ready the instant you stop.
Everything up to that link button is free and works without an account.
The takeaway
Before your next recording, press ⇧⌘3 and watch the microphone's green fill while you say a sentence. If it moves, your voice will be in the video. That one check saves more re-recordings than anything else.
The full list of controls, shortcuts and fixes is in the help centre: Record your screen.
catu is one menu-bar app for everything you capture on a Mac. Free on your Mac; the Web app plan for sharing and editing.
See what it does